In today’s fast-paced digital world, staying connected while traveling has never been easier. With the rise of eSIM technology, users can activate mobile data plans instantly—no physical SIM cards required. One of the most convenient ways to install an eSIM is through a QR code. If you’re using RORO eSIM, the setup process is simple, fast, and highly efficient. This guide will walk you through everything you need to know about eSIM QR code setup.
What Is an eSIM QR Code?
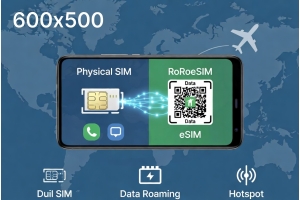
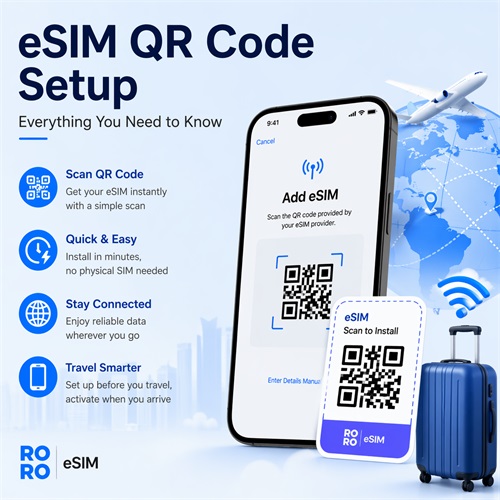
An eSIM QR code is a digital activation method that allows your smartphone to download and install a mobile data plan directly. Instead of inserting a traditional SIM card, you simply scan a QR code provided by your eSIM provider. Once scanned, your device automatically installs the eSIM profile and connects you to a network.
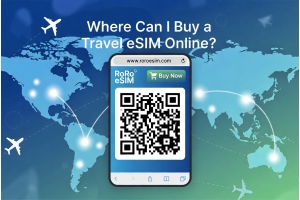
With providers like RORO eSIM, the QR code is typically sent via email immediately after purchase, allowing you to get connected within minutes.
What You Need Before Setup
Before installing your eSIM using a QR code, make sure you have the following:
- An eSIM-compatible smartphone (iPhone XS or newer, or supported Android devices)
- A stable Wi-Fi connection
- Your eSIM QR code or activation details
These are essential to ensure a smooth installation process.
How to Set Up eSIM Using a QR Code
For iPhone Users
There are two main ways to install your eSIM:
1. Quick Scan Method (iOS 17.4 and newer):
Simply open your camera and point it at the QR code. Your phone will recognize it instantly and prompt you to add a mobile plan. Tap “Allow,” and the installation will begin automatically.
2. Manual Setup via Settings:
Go to Settings > Mobile Data > Add eSIM > Use QR Code, then scan the code provided.
For Android Users
The steps may vary slightly depending on the device, but generally:
- Go to Settings > Network & Internet > Mobile Network
- Tap Add eSIM
- Select Scan QR Code and scan your code
In both cases, installation usually takes less than a minute.
Manual Installation Option
If scanning the QR code isn’t possible, you can manually enter the activation details. These include the SM-DP+ address and activation code, which are provided along with your QR code.
This option is useful if you only have one device or if the QR code cannot be scanned properly.
What to Do After Installation
Once your eSIM is installed, there are a few important steps to follow:
- Label your eSIM (e.g., “Travel eSIM”) for easy identification
- Keep the eSIM turned off until you arrive at your destination
- Turn on data roaming for the eSIM when ready to use
- Disable roaming on your primary SIM to avoid extra charges
Your data plan will only activate when the eSIM connects to a supported network at your destination.
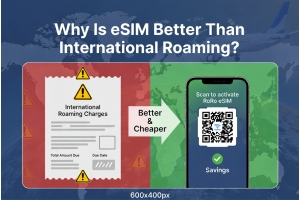
Why Choose QR Code Setup?
Using a QR code for eSIM setup offers several advantages:
- Instant activation – no waiting for delivery
- Easy installation – no technical skills required
- Convenient for travelers – set up before departure
- Reusable profile – install once and reuse for future trips
With RORO eSIM, users can complete the entire process—from purchase to activation—in just a few minutes.