In 2025, eSIMs have become a game-changer for travelers and global nomads. Instead of dealing with physical SIM cards, waiting in line at kiosks, or worrying about roaming fees — you can set up a travel-ready SIM directly on your phone within minutes. If you choose RORO eSIM, it becomes especially easy and streamlined. Here’s how to get connected in about 3 minutes, from purchase to online.
Why 3 Minutes Is Realistic with RORO eSIM
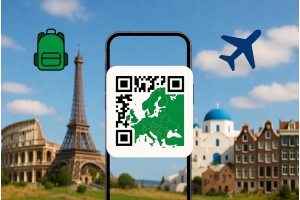
Digital delivery: After checkout on RORO’s site, you receive a QR code or activation credentials instantly — no waiting for shipping or physical SIM cards.
Simple install flow: Modern smartphones (iPhone, Android, Samsung, etc.) support eSIM profile import via QR code or manual entry.
No paperwork or ID needed for many RORO plans — so you don’t get held up by registration or verification.
Because of these conveniences, the entire process — purchase, install, activate — can realistically take under 3 minutes if you have your device and plan ready.
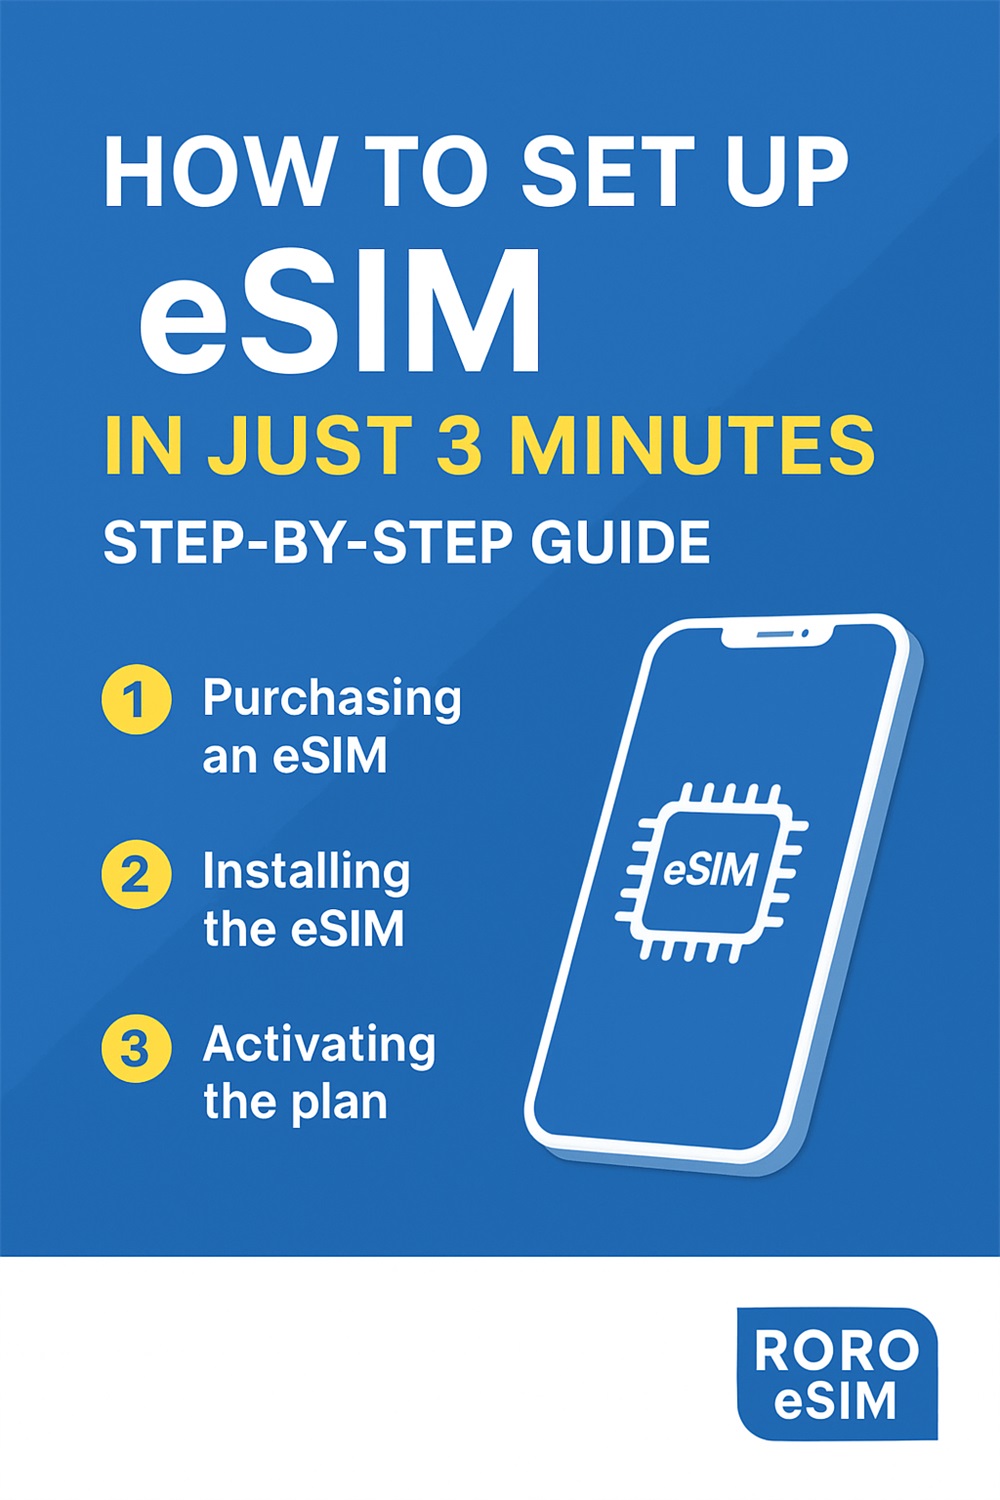
Step-by-Step: 3-Minute eSIM Setup Guide
Here’s a quick, universal guide for installing RORO (or other) eSIM plans on your smartphone.
1. Pre-Setup (Before Travel or Arrival)
Confirm your phone supports eSIM. Most modern iPhones, Samsung Galaxy models, and many Android devices do.
Ensure your phone is unlocked, or at least able to accept foreign carriers.
On RORO’s website, choose your destination (or global plan), select data allowance/validity, and purchase — you’ll receive a QR code or activation info almost immediately.
2. Install the eSIM Profile (≈ 1–2 minutes)
iPhone (iOS)
Go to Settings → Mobile Data (Cellular).
Tap Add Data Plan / Add eSIM / Add Cellular Plan.
Scan the QR code from RORO. iOS will detect and prompt you to install the profile.
(Alternatively) Choose Enter Details Manually and input the SM-DP+ address and activation code provided by RORO.
Rename the plan (e.g., “RORO Travel eSIM”) so you can easily manage it alongside your regular SIM.
Android / Samsung
Open Settings → Network & Internet → SIMs / Mobile Network.
Select Add eSIM / Add Data Plan / Add Carrier.
Scan the QR code or enter activation information manually.
Confirm and allow installation — the eSIM profile is added.
3. Activate and Connect (≈ 30 seconds)
Once the profile is installed, enable data or data roaming on the eSIM line (depending on destination).
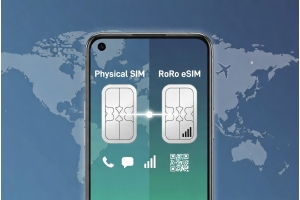
If your phone supports dual SIM, keep your main SIM active for calls/SMS and use the eSIM for data only.
The device should register with a local carrier partner automatically; open a web page or map app to test connectivity.
If connectivity doesn’t happen immediately, try toggling Airplane Mode ON → OFF or restarting the phone — this usually forces the network to reconnect.
What to Do If Something Goes Wrong
Most setups succeed smoothly — but if there’s a hitch:
Double-check that you scanned the correct QR code or entered activation data correctly.
Ensure your phone is unlocked and eSIM compatible.
Confirm data roaming is allowed (especially when using a travel eSIM abroad).
If network doesn’t show, try manual network selection or toggle airplane mode.
Contact RORO customer support — many users report prompt assistance when needed.
When 3-Minute Setup Is Most Useful
This quick setup method is ideal when:
You want to buy and install your eSIM before travel, so you arrive already connected.
You need quick data access on arrival — for maps, rides, messaging, translation, or booking transport.
You travel across multiple countries or regions, and prefer a single eSIM profile over multiple physical SIMs.
You value time and convenience: no queues, no physical SIM cards, no extra plastic.