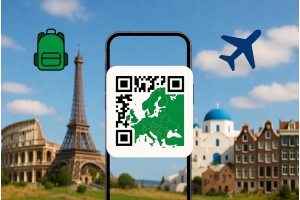
If you’re planning a trip abroad in 2025 and want reliable mobile data without hunting for a physical SIM card, installing an eSIM on your iPhone 15 is one of the easiest solutions. With RORO eSIM, you can purchase a travel plan online, install it on your phone in minutes, and be ready to connect as soon as you arrive at your destination. This step-by-step tutorial shows you how to install a Roro eSIM on iPhone 15 quickly and confidently.
What You Need Before Installation
Before you begin, make sure you have the following:
A compatible device: Your iPhone 15 supports eSIM and is unlocked.
The eSIM QR code or activation details: You’ll receive these from RORO after purchasing your eSIM plan.
Wi-Fi connection: A stable internet connection is required to download and install the eSIM.
Installing before you travel ensures that your eSIM plan doesn’t start counting validity before you arrive, giving you the most value for your stay abroad.
Step-by-Step: Installing Roro eSIM on iPhone 15
Option 1: Quick Install Using Your Camera
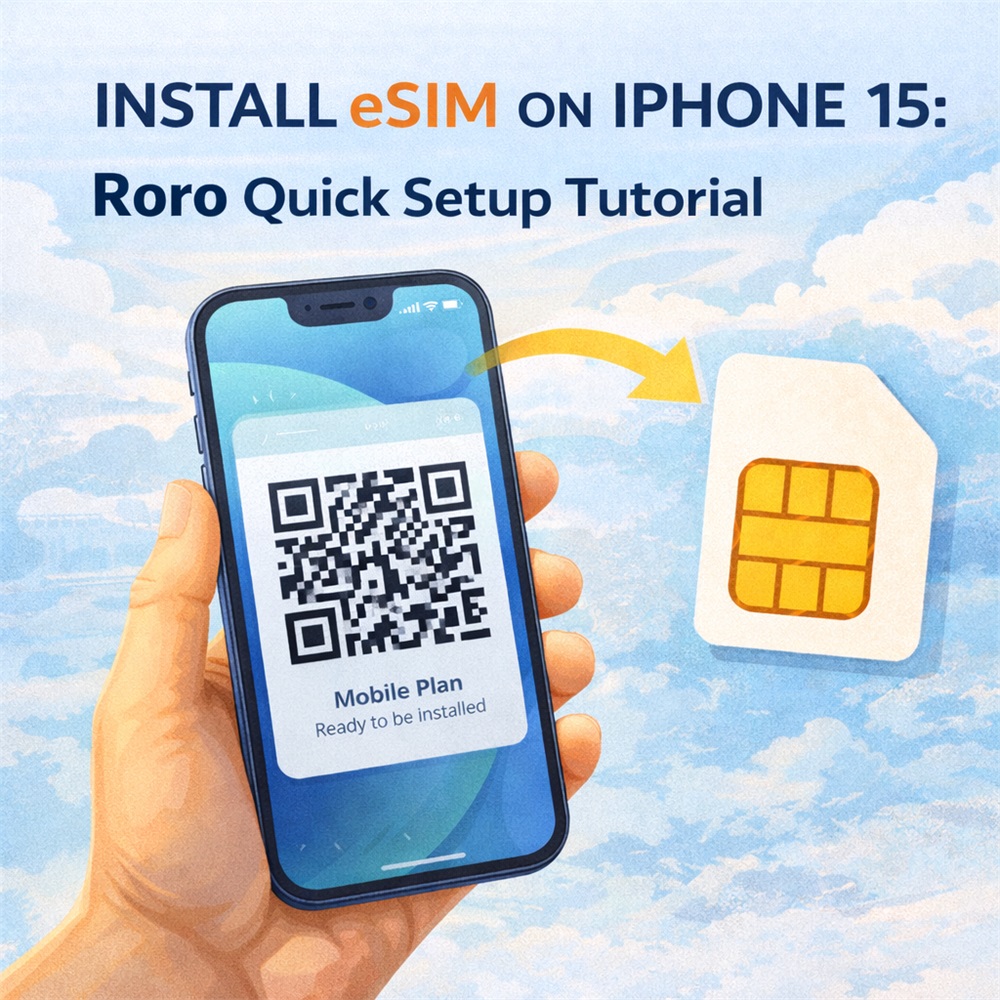
Open your camera and point it at the RORO eSIM QR code you received.
A prompt such as “Mobile Plan” will appear. Tap on it, then select “Allow” to begin the installation.
The eSIM profile will be downloaded and installed automatically — usually within about 1 minute.
This quick install method is the fastest and easiest if your iPhone 15 is running iOS 17.4 or newer.
Option 2: Install From iPhone Settings
If the camera scan doesn’t trigger the prompt:
Go to Settings → Mobile Service (or Settings → Mobile Data / Cellular).
Tap Add eSIM / Add Data Plan.
Choose “Use QR Code” and scan your RORO QR code.
Follow the on-screen instructions to finish installation.
This method works well if you already have the QR code saved on your camera roll or another device.
Option 3: Manual Installation
If QR scanning isn’t working, you can install your Roro eSIM manually:
Go to Settings → Mobile Service → Add eSIM → Use QR Code → Enter Details Manually.
Enter the SM-DP+ address and activation code from your RORO installation email.
Tap Next and follow the prompts to complete installation.
Rename your eSIM profile to something like “RORO eSIM” for easy management.
Manual installation is a handy fallback if your camera doesn’t recognize the QR code or if the automatic prompt fails.
After Installation: What to Do Next
Once installed on your iPhone 15, the eSIM profile will appear under your Mobile Service settings. Before you activate the data plan, RORO recommends you keep the new eSIM switch turned off until you reach your destination. This helps avoid your plan validity starting prematurely.
RORO eSIM
When you land in your destination country:
Go to Settings → Mobile Service and select the RORO eSIM profile.
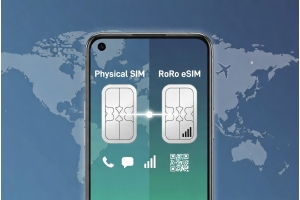
Turn on this line and enable Data Roaming — this allows your iPhone to connect to local networks seamlessly. If you have a physical SIM, you can keep that active for voice calls while using the Roro eSIM for data.
This setup ensures that your iPhone 15 uses the Roro eSIM for internet while retaining your original SIM for calls or messages as needed.
Tips for a Smooth Setup
Install before travel: Set up the eSIM on Wi-Fi at home so you’re ready when you land.
Label your eSIM: Renaming the plan (e.g., “RORO Japan” or “RORO Europe”) makes it easier to manage multiple lines.
Enable roaming only at destination: This prevents your plan validity from starting early and avoids unnecessary roaming fees on your primary SIM.
Use Data Roaming for eSIM only: Turn off roaming on your main SIM to avoid charges while using the Roro eSIM abroad.