Installing an eSIM is one of the easiest ways to get connected when traveling internationally. RoRo eSIM (https://roroesim.com/) makes the process simple, fast, and reliable across more than 200 countries. Whether you’re heading to the USA, Europe, Japan, Thailand, or China, this guide will walk you through the complete installation process so you can enjoy high-speed data from the moment you land.Before You StartEnsure your phone supports eSIM (most iPhones from XR onward, Samsung Galaxy S20+, Google Pixel 3+, and many recent Android flagships).
Check compatibility quickly by dialing *#06# — if an EID number appears, your device supports eSIM.
Have a stable Wi-Fi connection ready, as installation requires internet.
Step 1: Purchase Your RoRo eSIM PlanVisit https://roroesim.com/
Choose your destination (or a regional plan) and select the data amount and validity period that fits your trip.
Complete payment. You will instantly receive the QR code and manual activation details via email or in the “My SIMs” dashboard.
Step 2: Install the eSIM Profile (Do This Before Travel)On iPhone:Go to Settings > Cellular (or Mobile Data) > Add eSIM.
Choose Use QR Code and scan the QR code from your email or computer screen.
Alternatively, select Enter Details Manually and input the SM-DP+ address and activation code.
Follow the prompts to download the profile. Name it clearly, e.g., “RoRo Europe” or “RoRo Thailand”.
On Android:Go to Settings > Network & Internet > SIMs (or Mobile Network) > Add eSIM.
Scan the QR code or enter the details manually.
Confirm installation and rename the eSIM for easy identification.
Do not turn on the eSIM yet. Keep it installed but inactive so the validity period does not start prematurely.Step 3: Activate Upon ArrivalWhen you land at your destination, go to your phone’s cellular settings.
Select the RoRo eSIM line.
Turn on Mobile Data and Data Roaming (this is essential for connecting to local partner networks).
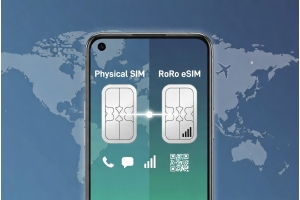
Set RoRo as your primary data line if using dual SIM (keep your home SIM for calls and texts).
The plan activates automatically when your phone connects to a supported network.
Step 4: Verify and OptimizeOpen a browser or app (Maps, WhatsApp, etc.) to confirm data is working.
Monitor usage in real time through the RoRo dashboard or app.
If needed, top up data instantly without reinstalling the profile.
Hotspot sharing is supported on most plans.
Important Tips for Worldwide UseAlways install on stable Wi-Fi before departure to avoid issues at the airport.
Enable Data Roaming specifically for the RoRo line.
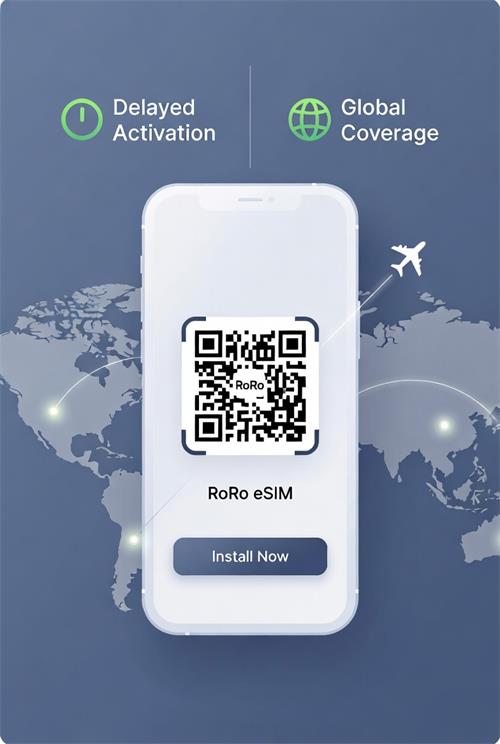
RoRo’s delayed activation feature ensures you don’t waste any paid days during travel.
24/7 customer support is available via chat, WhatsApp, or email if you encounter any problems.
No ID verification or passport registration is required.
With RoRo eSIM, you can install profiles for multiple countries in advance and switch between them effortlessly. This worldwide compatibility, combined with simple installation and affordable pricing, makes RoRo an excellent choice for frequent travelers, digital nomads, and anyone tired of expensive roaming fees.Follow this guide, and you’ll enjoy seamless, high-speed internet wherever your journey takes you in 2026 and beyond.