Many travelers who previously used Airalo are now making the switch to RoRo eSIM (https://roroesim.com/). Whether due to better pricing, more flexible plans, or improved features like delayed activation, the transition is straightforward and often worthwhile. This quick guide will help you switch smoothly and make the most of RoRo eSIM.Why Switch from Airalo to RoRo eSIM?While Airalo is popular for its wide selection and easy app, many users report switching to RoRo for several key reasons:
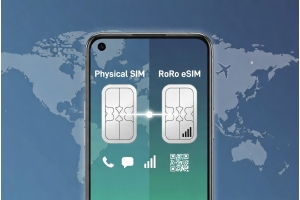
- Delayed Activation: RoRo’s biggest advantage — install the eSIM before your trip, but the validity only starts when you connect in the destination country. Airalo usually starts the countdown immediately after purchase.
- Better Value: RoRo often provides more competitive pricing for medium to long trips, with generous data packages and easy top-ups.
- Stronger Customer Support: RoRo offers responsive 24/7 support via live chat, WhatsApp, and email, which many travelers find faster and more helpful than Airalo’s support.
- Flexible Plans: RoRo offers a good mix of fixed-data and unlimited-style plans with fair-use policies, plus reliable hotspot sharing.
- Global Coverage: Excellent performance across 200+ countries with strong local network partnerships.
Visit https://roroesim.com/ and select the plan for your next destination or region. Complete the payment. You will receive the QR code and activation details instantly via email or in your “My SIMs” dashboard.Step 2: Remove Airalo eSIM (Optional but Recommended)
Before installing the new profile:
- On iPhone: Go to Settings > Cellular > Tap the Airalo line > Remove Cellular Plan.
- On Android: Go to Settings > Network & Internet > SIMs > Select Airalo eSIM > Delete/Remove.
- iPhone: Settings > Cellular > Add eSIM > Use QR Code (scan the RoRo QR code) or Enter Details Manually.
- Android: Settings > Network & Internet > SIMs > Add eSIM > Scan QR code or manual entry.
When you land at your destination:
- Enable the RoRo eSIM line.
- Turn on Data Roaming.
- Set RoRo as your primary data line.
Use the RoRo website or app to track data usage in real time and top up instantly if needed.Tips for a Smooth Transition
- Install RoRo eSIM while still on stable Wi-Fi before your next trip.
- Test the connection shortly after activation.
- If you have multiple eSIMs, rename them clearly to avoid confusion.
- RoRo’s 24/7 support is available if you encounter any issues during the switch.