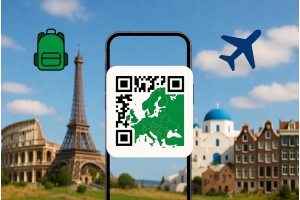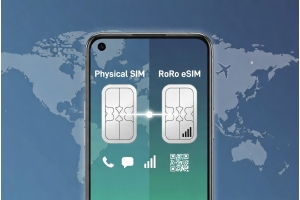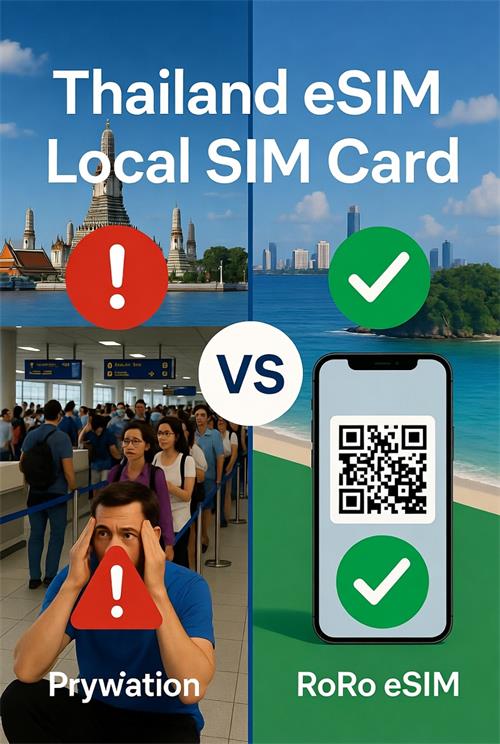
When traveling to Thailand, staying connected is essential for using Grab, Google Maps, Line, and social media. Travelers often face the dilemma: should they buy a local physical SIM card upon arrival or opt for a modern eSIM like RoRo eSIM (https://roroesim.com/)? Here’s a detailed comparison to help you decide.Local SIM Card: The Traditional OptionAt Bangkok’s Suvarnabhumi Airport or any major Thai city, you can easily purchase a physical SIM from AIS, TrueMove, or DTAC. These SIMs are relatively cheap and offer good local rates.Advantages:
- Often includes voice calls and SMS.
- Available immediately at the airport.
- Long queues at arrival.
- Requires passport registration and filling out forms.
- You must physically insert the SIM, risking damage to your phone’s tray.
- Limited validity periods and sometimes complicated top-up processes.
- If your phone has a sealed SIM tray or you use dual-SIM, switching becomes troublesome.
- Ultimate Convenience: Buy online before your trip, receive a QR code instantly, and install on Wi-Fi at home or during your flight. No airport lines or paperwork.
- Delayed Activation: The plan only starts counting validity days when you connect in Thailand — perfect for long flights or multi-stop journeys.
- Flexible Data Plans: Choose from 5GB, 10GB, 20GB, or unlimited-style options suitable for different trip lengths. Easy top-ups via the dashboard.
- Keep Your Home Number: Use RoRo purely for data while keeping your primary SIM active for calls and texts.
- Hotspot Sharing: Share your internet with companions or devices.
- Nationwide Coverage: Excellent signal in Bangkok, Phuket, Chiang Mai, Pattaya, islands, and even many rural areas.
|
Feature
|
Local SIM Card
|
RoRo eSIM
|
|---|---|---|
|
Purchase
|
Airport / Shop
|
Online, instant
|
|
Installation
|
Physical insertion
|
QR code scan (2-3 minutes)
|
|
Activation
|
Immediate
|
Delayed (starts on arrival)
|
|
Cost Efficiency
|
Good for short trips
|
Better value for most travelers
|
|
Flexibility
|
Limited
|
High (top-ups, multiple profiles)
|
|
Risk
|
SIM damage / loss
|
None
|
|
Support
|
Local shops
|
24/7 chat & WhatsApp
|
Which Should You Choose?Choose RoRo eSIM if:
- You have an eSIM-compatible phone (iPhone XS+, Samsung S20+, Google Pixel 3+, etc.).
- You value convenience and time.
- You want to avoid hassle at the airport.
- You need reliable data for 7+ days.
- Your phone does not support eSIM.
- You need voice calls and SMS included.
- You prefer dealing with everything after landing.
- Visit https://roroesim.com/ and select a Thailand plan.
- Purchase and receive the QR code instantly.
- Install on Wi-Fi before departure (Settings > Cellular/Add eSIM).
- Upon arrival in Thailand, enable Data Roaming and set RoRo as your primary data line.