If you're planning a trip to Japan and want to stay connected from the first moment you land, using an eSIM is one of the smartest moves. With RORO eSIM, you can purchase your data plan ahead of time, install it on your iPhone, and activate it upon arrival—no physical SIM swap, no running around airport kiosks. Here’s how to do it step-by-step for your Japan trip.
Device compatibility: Make sure your iPhone supports eSIM (most recent models do). RORO’s installation guide notes you should always check compatibility first.
Unlocked device: Your phone should be unlocked so you can activate a foreign eSIM profile.
Wi-Fi connection: You’ll need a stable connection during installation to download the eSIM profile.
Plan purchase: Visit RORO’s website, choose a Japan data plan (Japan-specific or global that covers Japan) and complete purchase. According to a RORO blog, Japan eSIM plans offer good flexibility.
Receive activation info: After purchase you’ll get a QR code or activation details. Save these in a convenient place (email, screenshot). RORO’s FAQ explains this part clearly.
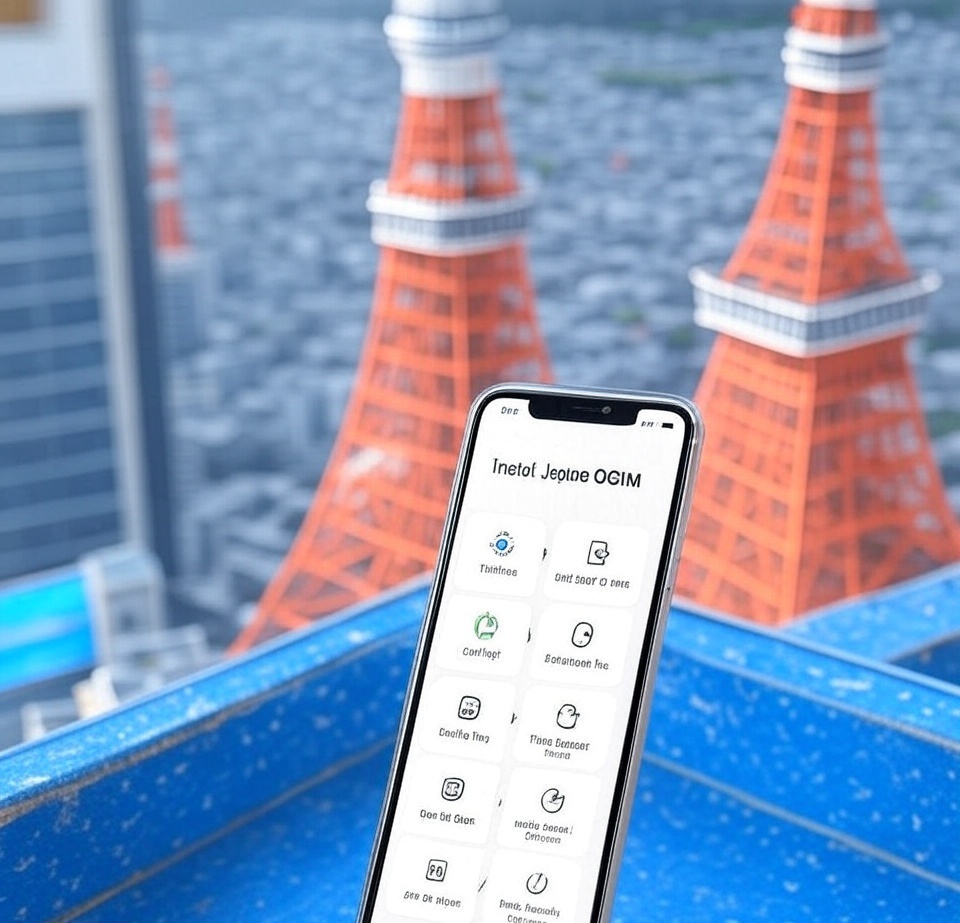
Here’s how to install the RORO Japan eSIM on your iPhone:
Open Settings → Mobile Data (or Cellular).
Tap Add Data Plan (or Add eSIM) on iOS.
Scan the QR code you received from RORO. iOS 17.4+ supports quick install: use the camera, tap Allow when prompted.
If scanning fails, choose Enter Details Manually: You’ll input the SM-DP+ address and activation code from RORO.
After the plan installs, rename the line (e.g., “RORO Japan”) so you can easily manage it alongside your main SIM.
Important: Do not turn it on until you land in Japan (or when you start using the plan) – activating too early may eat into your validity period. RORO recommends this.
Once you arrive in Japan:
Go back to Settings → Mobile Data, and ensure the new RORO eSIM plan is enabled.
Enable Data Roaming for the eSIM line because you’ll be using a local Japanese network.
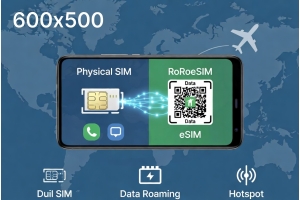
Keep your physical SIM as your home number (if you still need local texts/calls in your home country) — the eSIM can be used just for data.
Optionally, if you want, set the eSIM as your Mobile Data line (while keeping your physical SIM for voice/SMS).
After a moment, you should get signal via a Japanese carrier partner (RörO covers Japan). Then test by opening a web page or maps to verify connectivity.
If you don’t get a signal: toggle Airplane mode ON → OFF, or restart your iPhone.
Make sure under Settings → Mobile Data → Default Data Line (or similar) your RORO eSIM is selected.
Monitor your data usage via RORO’s dashboard or through your iPhone’s Data Usage menu to avoid surprises.
If you plan to use a hotspot (share your phone’s data with laptop/tablet): check your RORO plan’s hotspot allowance (some unlimited-label plans still have daily or hotspot limits).
If you switch between cities in Japan or move into more rural areas, note that coverage by partner networks may vary. While RORO partners with major operators in Japan, always good to check signal strength early on.
RORO emphasises ease of setup (“buy online, install via QR, activate on arrival”) and many travellers like that convenience.
Their global coverage (200+ countries) means you may have one eSIM profile you can reuse on other trips, which is efficient for frequent travellers.
Users report good coverage and speeds in multiple destinations. For Japan, that means stable access in major cities like Tokyo, Osaka and tourist areas. Customer reviews mention ease of use.
Installing a Japan eSIM on your iPhone with RORO eSIM is remarkably straightforward—and it means you’ll be online quickly once you land in Japan. By purchasing the plan ahead of time, delaying activation until arrival, and following the setup steps carefully, you avoid kiosk lines, physical SIM swaps, and roaming surprises. Just make sure your device supports eSIM, save your QR activation code, activate on arrival, and enjoy your trip across Japan with confidence in your connectivity.