Planning to use an eSIM during your Thailand trip? Whether you're headed to Bangkok, Phuket, Chiang Mai or any other destination, having a smooth setup matters. Below is a step-by-step guide to installing and using a RORO eSIM on both iPhone and Android devices, plus tips to avoid common pitfalls.
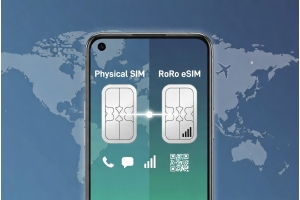
RORO offers Thailand eSIMs that work on the Real Future (Truemove) network, supporting 3G/4G/5G coverage across major cities and many rural areas. The eSIM is reusable (you can top up or switch plans later), and you can pair it with physical SIMs for future travel. To activate, RORO has a help page that covers installation on various devices.
Buy the RORO Thailand plan ahead of travel
Go to RORO’s Thailand page, pick the fixed-data or unlimited plan that fits your trip, and complete payment.
Receive and save the QR code
After purchase, you’ll get a QR code (and a manual activation option) in your email or your RORO “My SIMs” dashboard.
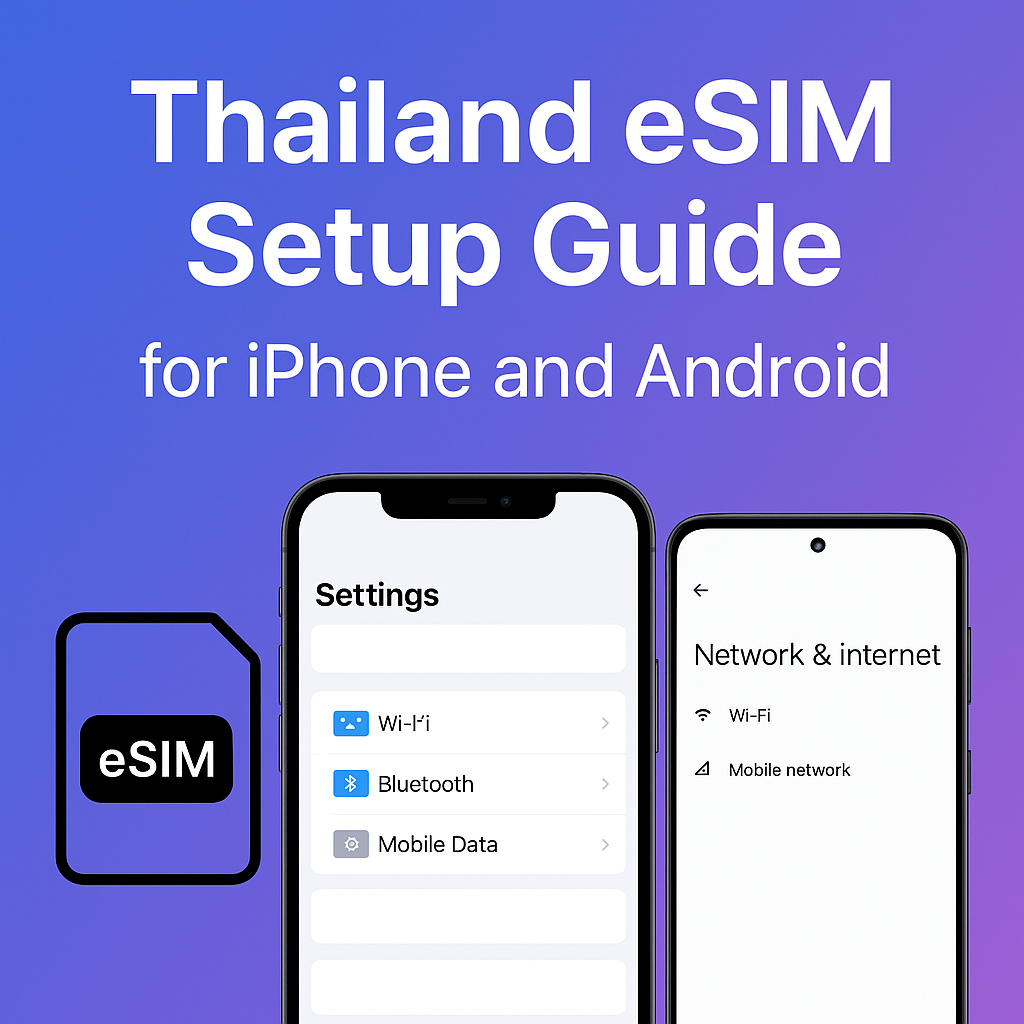
Install the eSIM
Go to Settings → Mobile Data (or Cellular).
Choose Add Data Plan (or Add eSIM).
Scan the QR code or enter activation details manually.
Follow prompts: name it (e.g. “Thailand RORO”) and set it as a secondary or primary data line.
Enable eSIM and data roaming
In Settings → Mobile Data, select your RORO eSIM line and turn it on.
Enable Data Roaming for that line, so it can connect through local networks.
On dual SIM devices, you can keep your home SIM for calls/texts and use RORO for data.
Test connectivity
Once you arrive in Thailand, check maps, web browsing, or a speed test to confirm it works.
Purchase your plan
Use RORO’s Thailand eSIM page and complete purchase as above.
Get QR or manual activation info
Same as for iPhone: saved QR or activation code from RORO.
Install the eSIM
Go to Settings → Network & Internet (or Connections).
Tap SIM / Mobile Network, then Add eSIM or Add mobile plan.
Scan the QR code or enter manual details.
Label the profile (e.g. “RORO Thailand”) for clarity.
Enable the eSIM profile
Turn on the eSIM you just added.
In Mobile network settings, set RORO as your preferred data SIM if using dual SIM.
Enable Data Roaming for it.
Verify connection
Use a browser or map app to confirm the Internet is working.
Install before travel if possible. Having the eSIM already in place prevents connectivity delays when you land.
Ensure your device supports eSIM. Older phones might not.
Restart your phone after installation if the line doesn’t appear immediately.
Watch data roaming and carrier selection settings—sometimes your phone may default to your home SIM or another SIM line.
Top up early if you run out of data; RORO allows convenient top-ups via their dashboard.
Reset network settings (if needed) to fix stubborn connectivity issues.
Check for coverage: in major urban Thailand (Bangkok, Chiang Mai, Phuket) coverage is generally good, but rural areas may be spotty—especially hills or islands.
Reliability & local network access: Uses a major Thai operator (Truemove / Real Future) for strong coverage. Easy top-up & reusability: You can reuse the same eSIM on future trips, pay only for data as needed. No ID registration hurdles in many cases (makes setup smoother for travelers). (Not always explicitly stated, but typical for RORO setups)
Global support & good infrastructure: RORO supports travel in over 200 countries.
Choose a mid-tier fixed-data plan, e.g. 5-10 GB for 7–10 days.
Install and test while still in origin city (if possible).
Activate in Thailand and use for daily maps, ride apps, messaging, light video.
Top up mid-trip if needed; switch to an unlimited plan for heavy use if offered.
Use hotspot carefully if sharing with laptop/tablet—check provider’s hotspot limits.
Setting up a Thailand eSIM on iPhone or Android with RORO eSIM is straightforward and traveler-friendly. Do your purchase and installation before arrival, turn on data roaming and the correct profile, and verify your connection in Thailand. With careful plan selection and usage awareness, you can stay connected easily across Bangkok, Phuket, and beyond—no SIM swapping, no hassle.