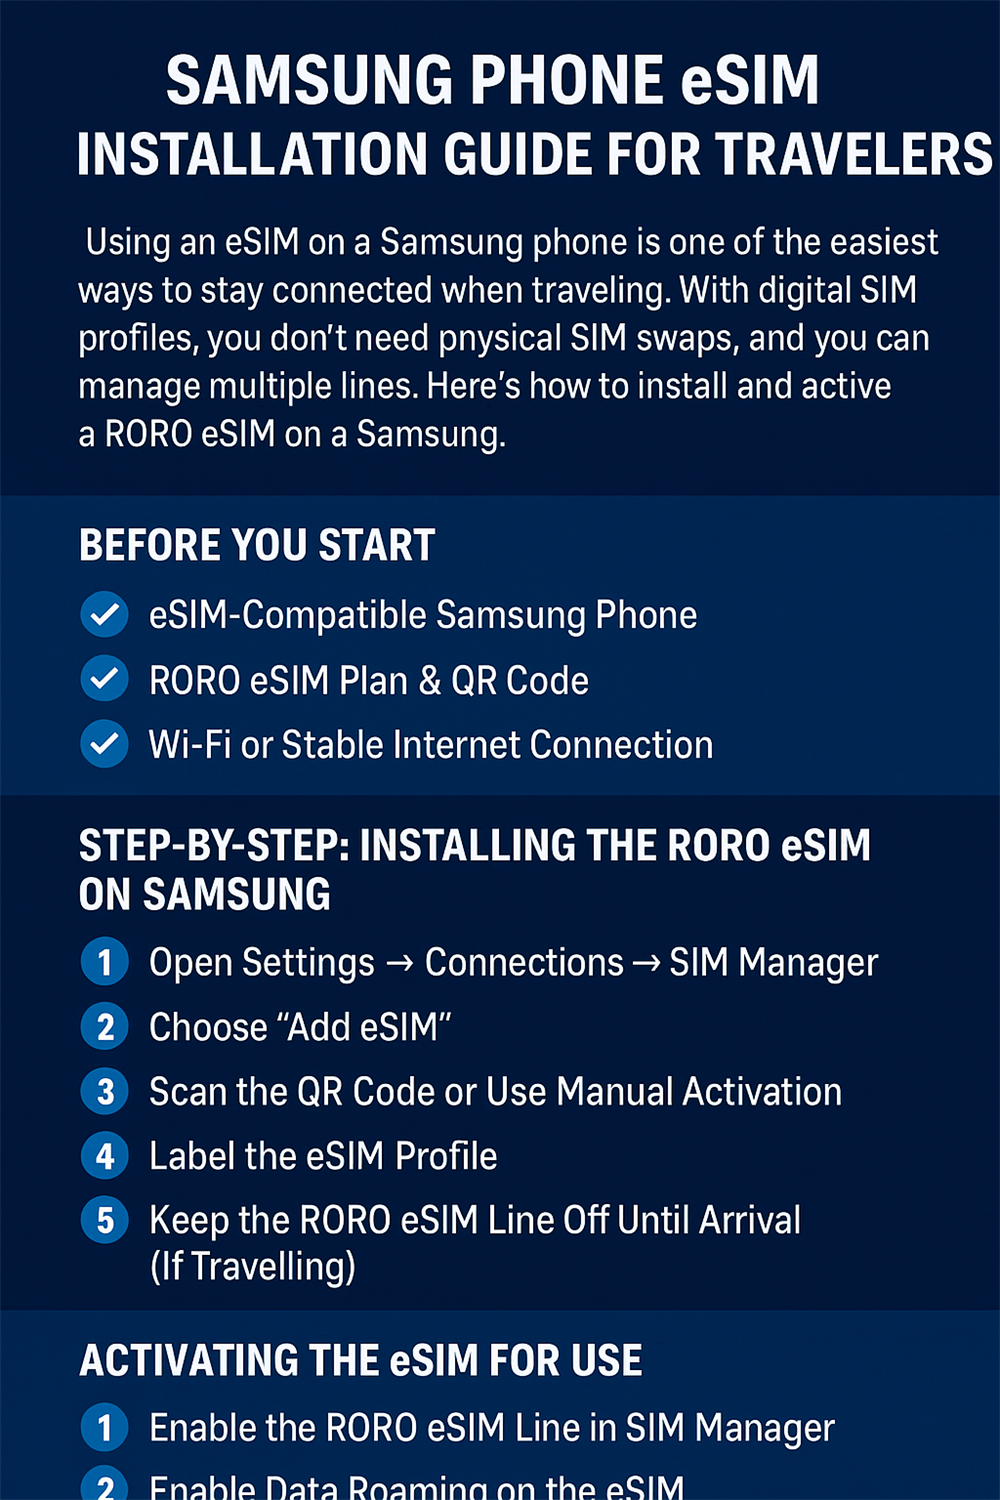
Using an eSIM on a Samsung phone is one of the easiest ways to stay connected when traveling. With digital SIM profiles, you don’t need physical SIM swaps, and you can manage multiple lines. Here’s how to install and activate a RORO eSIM on a Samsung (Galaxy) device, and what to watch out for, based on RORO’s instructions.
eSIM-Compatible Samsung Phone
Double-check that your phone supports eSIM. Many newer Galaxy models do. Check Samsung’s site for your specific model.
RORO eSIM Plan & QR Code
Purchase a RORO eSIM data plan in advance (especially before entering a destination where some providers’ apps may be blocked). After purchase, you’ll get a QR code (and manual activation info) sent to your email and accessible via RORO’s “My SIMs” section or their app.
Wi-Fi or Stable Internet Connection
During installation, you’ll need Internet (Wi-Fi works best) to download and validate the eSIM profile.
1.Step-by-Step: Installing the RORO eSIM on Samsung
Here’s how to do it:
Open Settings → Connections → SIM Manager
On Samsung devices, the path is usually Settings → Connections → SIM card manager (or SIM manager).
2.Choose “Add eSIM”
Tap on Add eSIM (or “+ Add eSIM / Mobile plan”) in SIM Manager.
3.Scan the QR Code or Use Manual Activation
Use the “Scan QR code” option and scan the QR code that RORO sent you.
If you can’t scan, use Manual installation (enter the activation code, SM-DP+/server address etc.) which is also available in your RORO account or email.
4.Label the eSIM Profile
After installation, you can rename the eSIM line (for example, “RORO eSIM”) so you can easily tell it apart from your primary/SIM-card line. This helps when switching data or roaming settings.
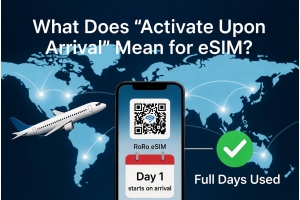
5.Keep the RORO eSIM Line Off Until Arrival (If Travelling)
If you are travelling, RORO recommends installing the eSIM ahead of time, but not activating data until you reach your destination. This prevents using up plan validity prematurely.
Once you land at your destination (or when you’re ready to use it):
Enable the RORO eSIM Line in SIM Manager.
Turn on that line so your phone can begin using it.
Enable Data Roaming on the eSIM
In Mobile networks or similar settings: select your RORO eSIM for mobile data, enable data roaming for that profile. Make sure your primary SIM’s roaming or mobile data is turned off to avoid undesirable charges.
Set which line is used for mobile data
In SIM Manager, choose the RORO eSIM as your preferred data SIM (if dual-SIM is in use). Voice/text can remain on your main SIM if you like for calls or SMS.
Update your phone’s OS to the latest version—newer Android / Samsung OneUI updates often improve eSIM functionality.
Restart your phone if the eSIM doesn’t show up after scanning or manual entry.
Check device compatibility (some older Samsung phones may support eSIM in hardware but lack full software support).
Ensure stable Wi-Fi or existing Internet when installing and activating.
Contact RORO support 24/7 if something doesn’t work. They provide help and can reissue codes if needed.
Buy your RORO eSIM ahead of time.
Install via Settings → Connections → SIM Manager → Add eSIM, using a QR code or manual input.
Label it for clarity.
Turn it on and enable roaming upon arrival.
Use RORO for data, keep your primary line for voice/text.
When done correctly, a RORO eSIM on Samsung devices provides flexible, worry-free connectivity – no physical SIM change, peace of mind when traveling, and fast activation. If you’d like, I can walk you through setup for your specific Samsung model (e.g. Galaxy S25, Fold, etc.) to ensure you don’t hit model-specific quirks.