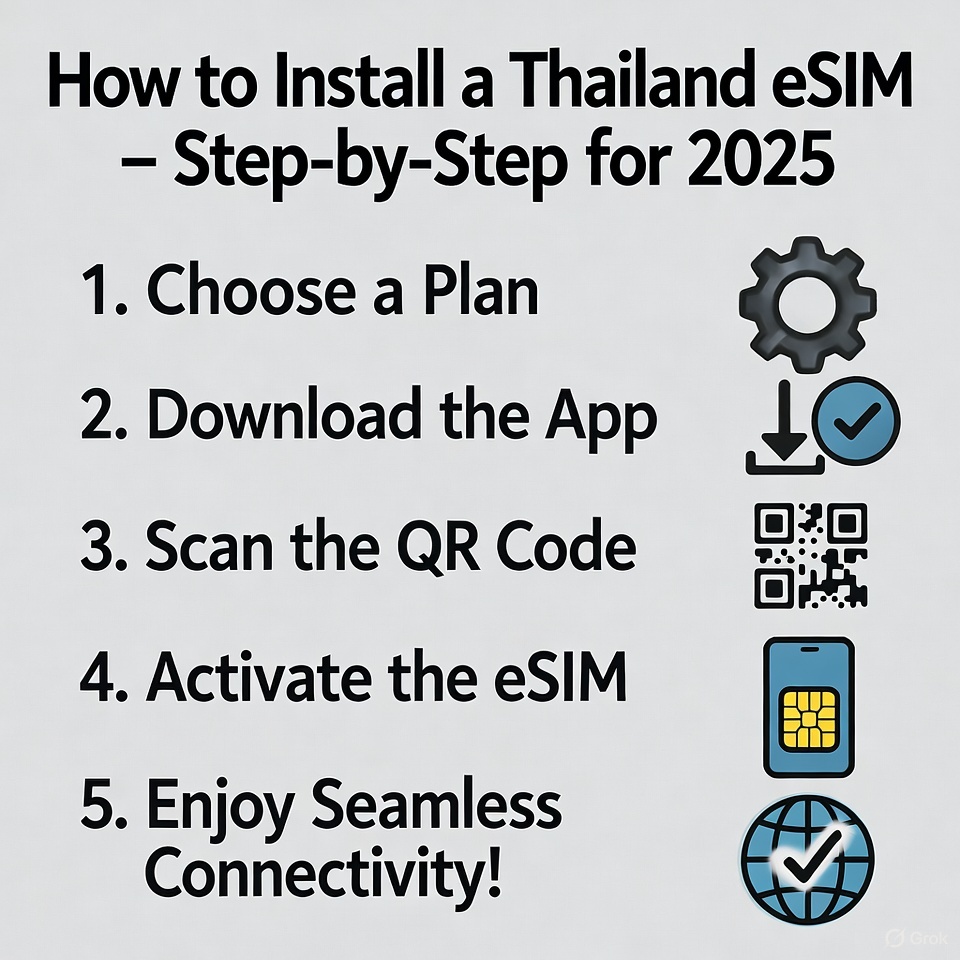
Traveling to Thailand in 2025 promises stunning beaches, vibrant cities, and rich culture. Staying connected is essential for navigating with Grab, translating Thai, and sharing your adventures on social media. Forget the hassle of hunting for physical SIM cards at the airport; an eSIM is the modern, instant solution. This step-by-step guide will walk you through the entire process, ensuring you're online the moment you land.
Step 1: Check Your Device Compatibility
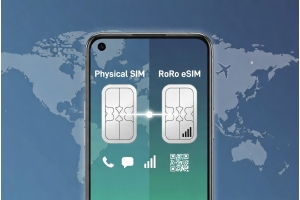
Before you begin, ensure your phone is eSIM-ready. Most smartphones released from 2018 onwards support eSIM technology, including:
iPhone XS and newer models
Google Pixel 3 and newer
Samsung Galaxy S20 and newer
Other compatible Android devices
Crucially, your device must be unlocked from your home carrier. You can usually check this in your phone's settings under "Cellular" or "Connections."
Step 2: Purchase Your Thailand eSIM Online
The best part about eSIMs is that you can buy them from anywhere in the world before your trip. For a reliable and seamless experience, we recommend purchasing from a trusted provider like RoroeSIM.
Visit roroesim.com on your smartphone or computer.
Select Thailand as your destination.
Browse their range of data plans. You'll find options tailored for short trips or longer stays, often including high-speed data allowances that are perfect for streaming and video calls.
Choose the plan that best fits your travel needs and complete the secure checkout.
Step 3: Receive and Prepare Your eSIM
Immediately after your purchase, you will receive a confirmation email from RoroeSIM. This email contains a crucial piece of information: the QR code for installation. Do not scan it immediately if you are not ready to connect. Keep this email easily accessible.
Pro Tip: You can also screenshot the QR code or save it to your Files app for quick access later.
Step 4: Install the eSIM on Your Phone
Now for the installation. It's recommended to do this while you are connected to a stable Wi-Fi network, before you depart or immediately after you land in Thailand.
For iPhone Users:
Go to Settings > Cellular.
Tap "Add Cellular Plan."
Use your camera to scan the QR code from RoroeSIM. The plan will automatically begin installing.
Follow the on-screen prompts. You can label the plan (e.g., "RoroeSIM Thailand") and choose your data and primary calling options.
For Android Users:
Go to Settings > Connections > SIM manager (the path may vary slightly by model).
Tap "Add mobile plan" or "Add eSIM."
Select "Scan carrier QR code."
Scan the QR code provided by RoroeSIM to install the plan.
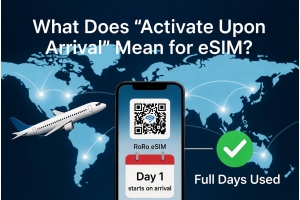
Step 5: Activate and Connect in Thailand
Once you have landed in Thailand, it's time to activate your eSIM.
Go to Settings > Cellular or Settings > Connections.
Ensure your new RoroeSIM plan is turned on.
Turn off "Data Roaming" for your primary line and turn it ON for your Thailand eSIM line.
Your phone should automatically connect to a local Thai network (e.g., AIS, TrueMove, dtac). You will see the network name appear in your status bar.
That's it! You are now connected. Enjoy high-speed internet across Thailand, from the bustling streets of Bangkok to the serene islands of Phuket, all thanks to the convenience of your eSIM from RoroeSIM.