If you’re traveling to the UK (London, Manchester, Edinburgh and beyond) or staying for an extended period and want seamless mobile data, using an eSIM with RORO eSIM is a top choice. Here’s a complete walkthrough for both iPhone and Samsung (Android) devices covering compatibility, purchase, installation and activation.
1. Before You Buy: Preparation & Compatibility
Before you purchase your RORO eSIM plan for the UK:
Ensure your smartphone supports eSIM – most modern iPhones and Samsung Galaxy devices (and other Androids) do—but double-check in Settings or refer to RORO’s compatibility list.
Have a stable Wi-Fi connection ready for the installation process.
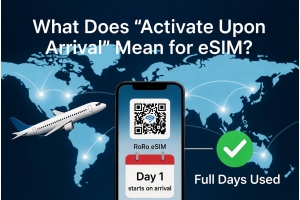
Decide on when to activate the plan: Install before travel, but activate in the UK to maximize validity.
2. How to Install on iPhone (iOS)
Here’s the process to install a RORO eSIM on iPhone:
Buy your UK data plan from RORO eSIM, receive the QR code or activation details.
On your iPhone, open Settings → Mobile Data (or Cellular).
Tap Add Data Plan (or Add eSIM).
Option 1 (Quick Install): If your iPhone runs iOS 17.4 or newer: use the rear camera to scan the QR code. Tap the “Mobile Plan” prompt and select Allow to install.
Option 2 (Manual Install): If you prefer or if automatic scan fails: Choose Use QR Code or Enter Details Manually; input the SM-DP+ address and Activation code provided by RORO.
After installation, rename the eSIM line (e.g., “RORO UK”) so you can easily manage it alongside your primary SIM.
Important: Keep the new eSIM line turned off or not used until you arrive in the UK. The plan’s validity begins when you connect to a UK network.
Once you land in the UK:
Go to Settings → Mobile Data and turn on the RORO eSIM line.
Enable Data Roaming for that line, and turn off Data Roaming for your primary SIM to avoid unwanted charges.
Set your new RORO line as the Mobile Data line while keeping your home number active for voice/SMS if needed.
3. How to Install on Samsung / Android
For Samsung (and other Android phones), the menu names may vary by brand, but the process is similar:
Purchase your UK eSIM plan from RORO and get the QR code or manual details.
On your Android device: Settings → Network & Internet (or Connections) → SIM & Mobile Network → Add eSIM (or “+ Add eSIM”).
Option 1 (Quick Install): Scan the QR code via the camera; follow prompts to add the plan.
Option 2 (Manual Install): If scanning fails, choose “Enter Activation Code” and input the SM-DP+ address and activation code from RORO.
After installation, rename the plan (e.g. “RORO UK eSIM”) under Settings → SIM Manager.
Do not activate until you arrive in the UK: keep the line inactive so you preserve your full validity period.
After arrival: Enable the new eSIM line, enable Data Roaming for the RORO eSIM, and disable Data Roaming for your primary SIM. Set RORO eSIM as your mobile data line.
4. Tips for Smooth Usage in the UK
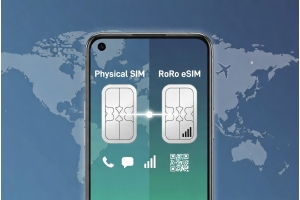
Dual-SIM usage: Use your physical SIM for calls/texts and the RORO eSIM for data—especially useful if you keep your home number active.
Hotspot sharing: RORO plans often allow tethering; check your specific plan for data sharing limits.
Top-ups: If you use most data early, you can top up via the RORO dashboard without reinstalling anything.
Program updates: Ensure your phone’s OS is up to date before installing the eSIM.
Monitor data usage: Launch the RORO app or your phone’s data-usage screen to avoid unexpected depletion.
Installing an eSIM from RORO eSIM for use in the UK is straightforward if you follow the steps above. Whether you’re using an iPhone or Samsung device, the process is fast—once installed, you’ll be ready to connect the moment you arrive in the UK. With RORO’s wide global coverage, flexible plans, and easy top-up system, it’s a smart choice for travelers, business users, or anyone needing reliable mobile data during their UK trip.