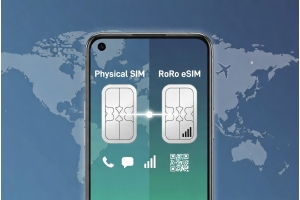
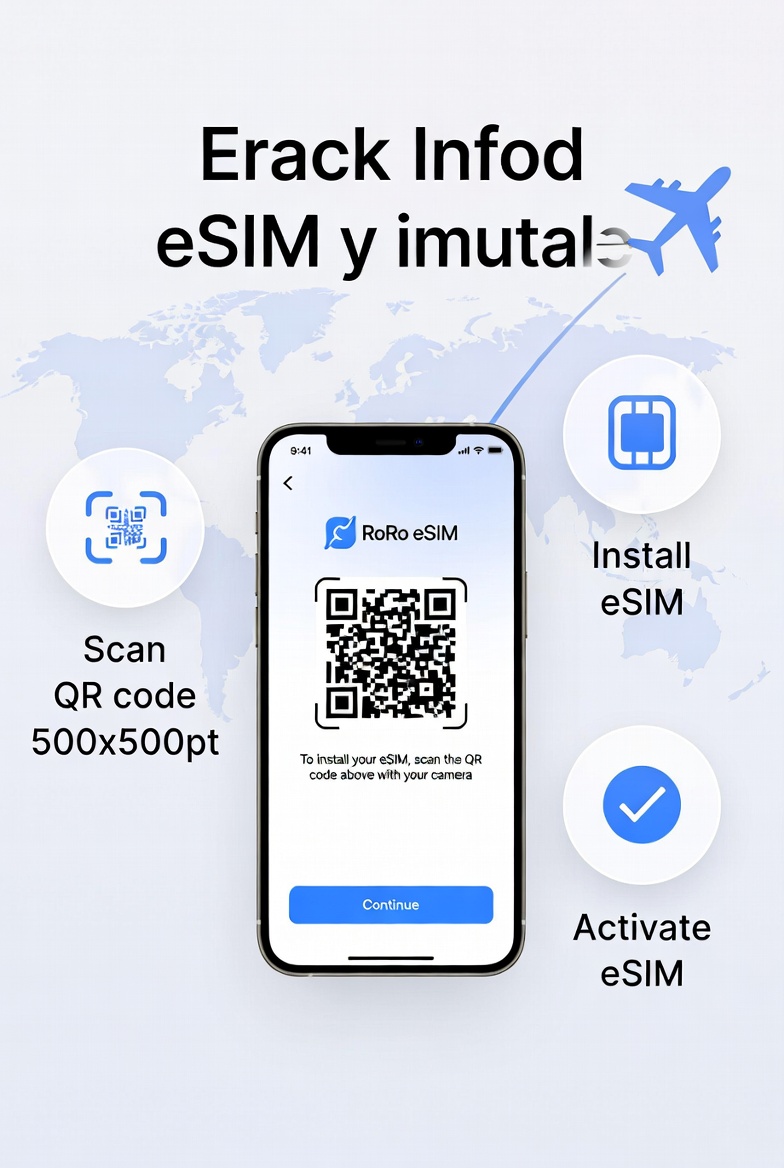
In 2026, more travelers are ditching physical SIM cards and switching to eSIM technology for international trips. If you’re wondering how to install an eSIM on your iPhone, you’re not alone. RoRo eSIM (https://roroesim.com/) has become one of the most popular choices for seamless, affordable connectivity in over 200 countries. This guide explains why travelers are making the switch and provides a simple, step-by-step tutorial for installing RoRo eSIM on your iPhone.Why Are Travelers Switching to eSIMs?Travelers are increasingly choosing eSIMs for several compelling reasons:
Visit https://roroesim.com/ and select a plan for your destination. Complete the payment. You will receive the QR code and activation details instantly via email or in your “My SIMs” dashboard.Step 2: Prepare Your iPhone
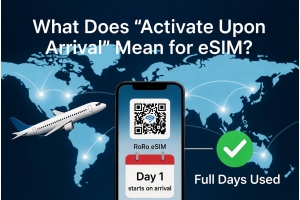
Follow the on-screen instructions. Once installed, label the eSIM clearly (e.g., “RoRo France” or “RoRo Thailand”) for easy identification. Do not enable it yet if you want to take advantage of delayed activation.Step 5: Activate Upon Arrival
When you land at your destination:
- Greater Convenience: No more airport queues, passport registration, or hunting for local SIM shops. You can install an eSIM before departure using Wi-Fi.
- Delayed Activation: RoRo eSIM’s standout feature — the plan only starts counting validity days when you connect in the destination country, preventing wasted days during long flights.
- Cost Savings: eSIM plans are significantly cheaper than traditional carrier roaming fees.
- Flexibility: Keep your home number active for calls and texts while using RoRo eSIM for high-speed data. Modern iPhones can store multiple eSIM profiles for different countries.
- Reliable Coverage: RoRo partners with top local networks worldwide, delivering strong 4G/5G signals in both cities and remote areas.
- Eco-Friendly: Less plastic waste from disposable SIM cards.
Visit https://roroesim.com/ and select a plan for your destination. Complete the payment. You will receive the QR code and activation details instantly via email or in your “My SIMs” dashboard.Step 2: Prepare Your iPhone
- Ensure you are connected to stable Wi-Fi.
- Go to Settings > Cellular (or Mobile Data).
- Tap Add eSIM (or Add Cellular Plan).
- Choose Use QR Code.
- Scan the QR code from your email or another device screen.
- If scanning doesn’t work, select Enter Details Manually and input the SM-DP+ address and activation code provided by RoRo.
Follow the on-screen instructions. Once installed, label the eSIM clearly (e.g., “RoRo France” or “RoRo Thailand”) for easy identification. Do not enable it yet if you want to take advantage of delayed activation.Step 5: Activate Upon Arrival
When you land at your destination:
- Go to Settings > Cellular.
- Select the RoRo eSIM line.
- Turn on Mobile Data and Data Roaming.
- Set RoRo as your primary data line if using dual SIM.
- Update your iOS to the latest version for best eSIM performance.
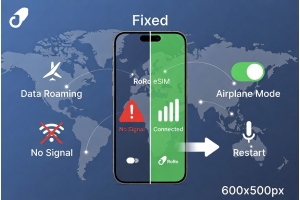
- Enable Data Roaming specifically for the RoRo line — this is the most common reason for “no service” issues.
- You can store multiple eSIMs and switch between them easily in Settings.
- Monitor usage and top up data anytime through the RoRo website or dashboard.
- RoRo provides 24/7 support via chat and WhatsApp if you need help.